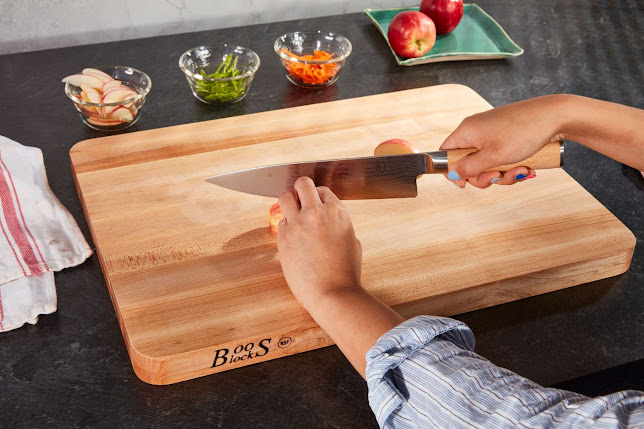
Crafting a Cutting Board: A Blend of Functionality and Aesthetics
Designing a cutting board involves merging practicality with aesthetics, resulting in a versatile kitchen tool that enhances both culinary activities and kitchen decor. Here's a brief guide on creating a cutting board:
Material Selection:
- Choose a hardwood such as maple, walnut, or cherry for durability and longevity.
- Ensure the wood is properly seasoned and free from defects.
Measuring and Marking:
- Determine the desired dimensions for your cutting board.
- Use a ruler and pencil to mark the measurements on the selected wood.
Cutting and Shaping:
- Employ a saw to cut the wood along the marked lines.
- Shape the edges and corners for a polished look.
Sanding:
- Use sandpaper with gradually finer grits to smooth the surfaces.
- Round the edges slightly for comfort and aesthetics.
Sealing:
- Apply a food-grade mineral oil or beeswax finish to protect the wood.
- Allow adequate drying time for a thorough seal.
Personalization:
- Add a personal touch by engraving initials or a design.
- Consider using a wood burner for intricate detailing.
Maintenance Tips:
- Regularly oil the cutting board to prevent drying and cracking.
- Hand wash with mild soap and warm water; avoid submerging in water.
Presentation:
- Showcase your cutting board in the kitchen for both functionality and visual appeal.
- Consider gifting personalized cutting boards for special occasions.
Creating a cutting board is a fulfilling project, offering a balance of craftsmanship and utility in the kitchen. Whether for personal use or as a thoughtful gift, a well-crafted cutting board adds a touch of artistry to the culinary experience.


0 Comments